
Pizza Hack Revisited: Broiling Your Pies
Earlier this year, Blake and I stumbled upon an astonishing pizza making technique - one that allowed us to create restaurant-worthy pies at home using nothing but a cast iron skillet and an oven. The cast iron skillet was warmed over high heat on top of a stove, while the broiler was preheating. Then the skillet was turn upside down, the pizza put on top, and then stuck underneath a preheated broiler. In a minute a thirty five seconds a perfect pizza would emerge from the oven. We wrote about this crazy technique over at Serious Eats , and considered ourselves noble pizza pioneers.
It felt so special because it’s so hard to make good pizza at home. The best pizza is created in ovens that can reach hellish temperatures of over 800 degrees. You can’t do that at home. But the combination of the cast iron and the broiler came fairly close.
When I moved to Ohio, I figured this would be a saving grace in a city with thick cheese-laden pies. No matter how much I missed New York pies, I could always taste something close at home.
But here is the sad secret: broiling your pies is hard. The pizza comes out beautifully cooked and delicious, but it’s an enormous pain. I’ve only done it three times since I discovered the secret and each time has been even more difficult than the time before. Part of the problem is that my cast iron skillet is only big enough for a personal pan sized pizza. No matter how organized and prepared I am, people can only be served one at a time. In the meantime, I’m sprawled out on the floor peaking into my broiler, covered in flour while people wait for ages. However fun it might be to do it, it’s not an especially civil way to eat.
The problems don’t end there. Every time that broiler door opened, the temperature dropped, meaning that the third pie wouldn’t be as perfect as the first. To keep quality control high, the iron skillet needed to be reheated atop the stove every five minutes or so. That produced loads of smoke, because the bottom of the skillet just had a pizza on top of it loaded with all kinds of ingredients. They burned, turned to smoke, and generally caused a scene. It’s hard to enjoy any kind of pizza in that environment.
So I’ve been tinkering with the technique, trying to find a short cut. How could I make pies as tasty as the cast-iron technique, but without quite as much hassle? And I think I’ve found it.
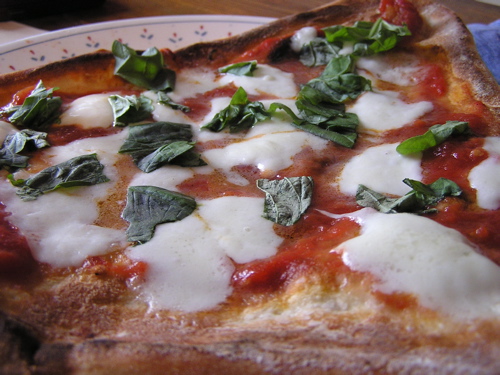
Actually, it was Abby’s idea. Instead of the cast-iron skillet, I used a pizza stone that had been warmed in a 500 degree oven, and then placed under broiler. But here’s the trick: only put the dough in. Cook it for about a minute, remove it from the oven, and then place the toppings on. Broil it for another 30 seconds or so, and if the cheese hasn’t melted, then place it in the oven. The residual heat from the 500 degree blast will nicely melt the cheese without scaring the dough.
This method creates a crackly crust that’s soft in the middle. It’s almost perfection. And, because the pizza stone is much bigger than the bottom side of an iron-skillet, big and hearty pies can be made with ease.
You can eat with your friends! You’ll no longer be banished to the dirty floor to pull out piping hot pies that can only feed a small child. I've already used this technique three times in the past four days. It works.
Broil Your Pies: Part II
- Pizza dough
- tomato sauce
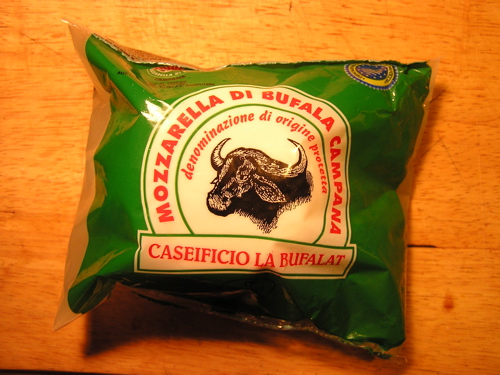
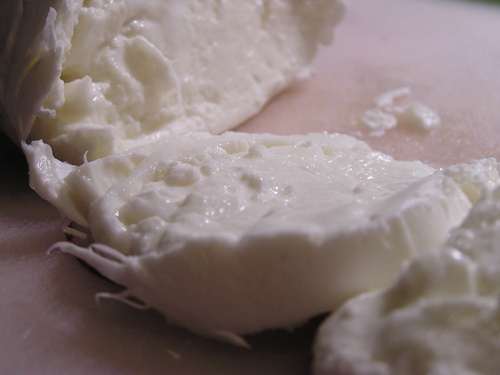
- mozzarella, buffalo mozzarella is best
- basil
- olive oil
- salt
Preheat the oven to 500 degrees. Toss the pizza stone on the middle rack. Let it warm up for at least 30 minutes, probably a tad longer.
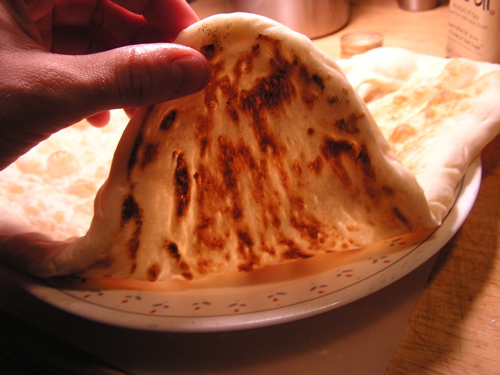
For one pie, I used about 1/4 of the dough. Spread the dough out into a roughly circular shape. The easiest way to do this is to hold the dough by the edges, and letting the rest stretch by gravity. It’s a hard process to get a first, but just take your time. I made my dough as thin as possible, almost translucent.

Using a fork, poke holes in the dough. This will keep the dough from raising and making too many bubbles. Some bubbles are good, but because there are no ingredients to weigh down the dough, it will go crazy. The bubbles will burn, break, and then all the ingredients placed atop them will fall through the pizza. Not a good look.

Pour about tablespoon of oil onto each side of the dough, and smear until covered.
Turn the oven to the broiler setting, and move the pizza stone to the broiler.
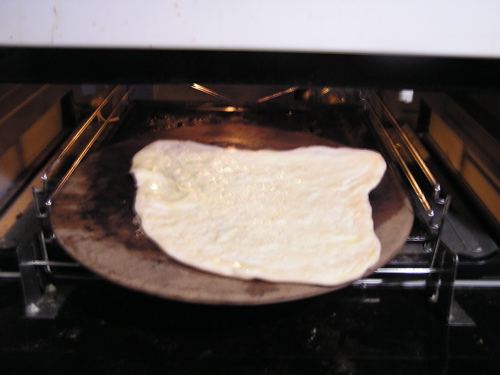
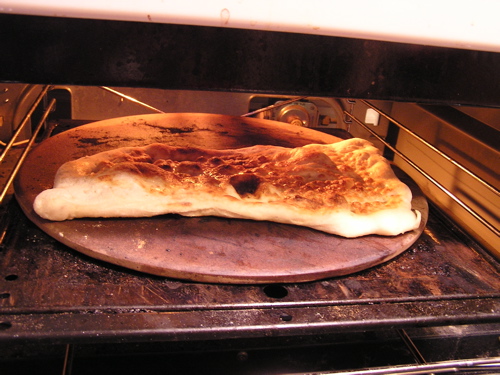
Carefully place the dough on the pizza stone. Close the door, and let it cook for about a minute, or until there is nice coloring on both sides.

Remove the dough, and then add the toppings. Place the pizza back under the broiler and let cook for about 30 seconds or so. When the dough looks brown, take it out and put it in the oven to cook the
cheese.
Comments:
Blog Comments powered by Disqus.